Easy-Peasy DIY Easter Baskets
•Posted on March 19 2024

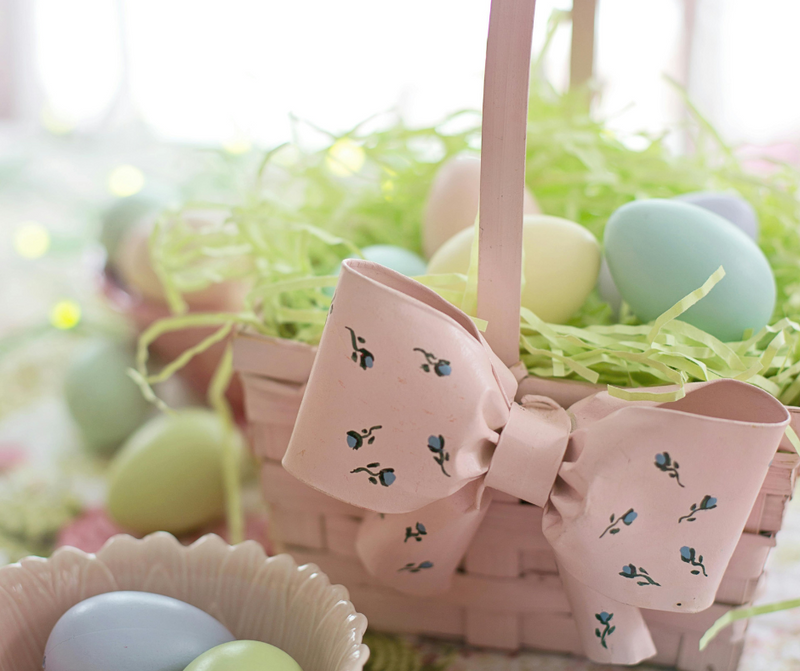
Looking for ways to make your kids’ Easter morning extra special this year? Start with making them their very own Easter baskets!
It’s so easy to assemble a cute and memorable basket with just a handful of supplies and a few spare minutes! You can even make a few extra to use as centerpieces for the holiday! Here’s the deal…
DIY Easter Baskets
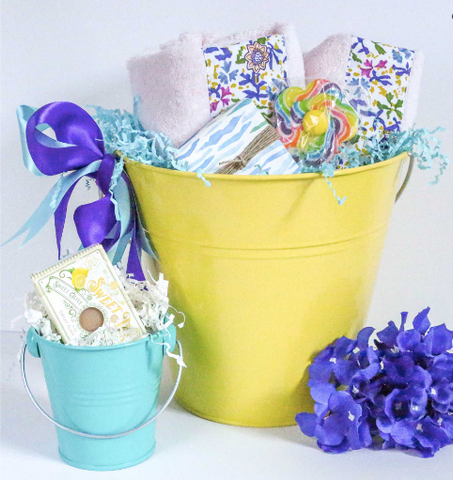
- Extra-large metal bucket
- Paper shred
- Tulle ribbon
- Optional: glitter pen or paint pen
- Fillers, such as Easter candy, small toys, or stuffed animals
Instructions
- Pick out an extra-large metal bucket in your child’s favorite color or any Easter-friendly pastel hue.
- Fill the bucket about halfway with pastel paper shreds in a complementary color. Be sure to leave room for all the Easter fillers.
- Optional: Use a glitter or paint pen to write your child’s name around the bucket to make it even more personal. You can also add draw decorations like polka dots, flowers, or easter eggs. Leave space around the top or middle of your bucket for the tulle ribbon. Let the glitter/paint dry thoroughly before moving your bucket.
- Use the tulle ribbon to tie a large bow around the top or middle of the bucket. You can add more flair by wrapping the handle or adding an additional bow.
- Fill the bucket with all your Easter goodies! Be sure to balance out heavy and light items so the bucket doesn’t tip when picked up by the handle.
And you’re done! Your children will love waking up to these personalized baskets and carrying them around for egg hunt shenanigans! Speaking of which, you now have plenty of time to hide those Easter eggs!